We’re all familiar with the concept of lubricating our chain and drivetrain to avoid rusty and squeaking components. Most of us probably apply one of the best chain lubes to our chains with varying degrees of frequency, and few of us like the sound of a crunchy drivetrain.
However, if we only ever use liquid lubricants, we may be missing out on significant performance gains, as well as making more cleaning work for ourselves. Chain waxing promises greater drivetrain efficiency, saving watts, improving component longevity and reducing cleaning requirements, but what exactly is chain waxing, how do you do it, and, vitally, is it right for you and your bike?
What is chain waxing?
Firstly let’s look at the basics of why you should keep your chain both lubricated and clean.
The drive train consists of your chainrings, chain, cassette and derailleurs. It is the machine through which we apply force from the legs, through the pedals, into the rear wheel to move us forwards. If this system is not running smoothly, either by lack of lubrication or because of dirt, our drivetrain efficiency plummets and the power generated by legs does not get transferred to the rear wheel optimally. Essentially, we waste effort and lose potential speed.
Chain waxing is an alternative way of lubricating your chain. It might seem slightly odd, putting what ends up looking essentially like dried candle wax on to your chain, but it has a lot of benefits for cyclists across all ranges and disciplines.
Waxed chains can be bought ready to fit, with no more hassle than the time it takes to switch out of the old chain.
(Image credit: Future)
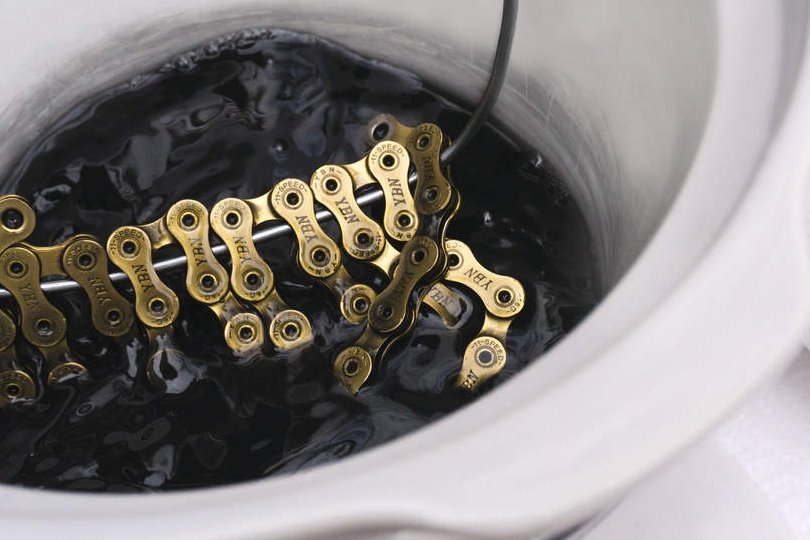
Chain wax can be purchased in a bottle in liquid form or as pellets, which need to be heated to turn them liquid. Once applied the liquid becomes solid again, leaving a wax coating inside the moving parts of the chain, and on the exposed faces.
Done correctly, the wax penetrates all the components of the chain, from the face plates to the rollers, helping to reduce the drivetrain friction and convert more of the power that we apply in the pedals into usable forward momentum for the bike.
How do you wax a chain?
The process sounds quite complex, and certainly is not as simple as applying a standard drip lubrication to your chain. There are however several ways of applying wax to your chain. Going from easiest to most complex, here are the main methods:
Pre-waxed chain
The easiest and most hassle free way of waxing your chain is to buy one pre-waxed.
Brands like Ceramic Speed, Absolute Black, and Silca all sell chains that are stripped of the factory lubricant and treated with the brand’s own proprietary waxes. The only work required here is to thoroughly clean the cassette and chainring and other key components, and to size and fit your new chain using a chain splitter and a quick-link tool.
Once fitted you’re ready to ride.
The lifespan of the lubrication varies between brands will also be affected by the conditions in which you ride.
Drip-lube wax
The next option for chain waxing is a drip lube solution. Again, many of the well-established brands in chain efficiency and waxing offer drip lube solutions that are made with wax products that are liquid at room temperature. You can check out some the available products in our guide to the best chain lubes for bikes.
It’s still essential to remove all dirt and contaminants that might prevent the wax from adhering to the chain, and ultimately doing its job. This requires a bit more preparation.
To do this properly, you need to bathe it in a solution of chain stripper or use an ultrasonic cleaner. If not, particles of the previous lubrication remain and do not interact well with the chemistry of the newly applied drip lube.
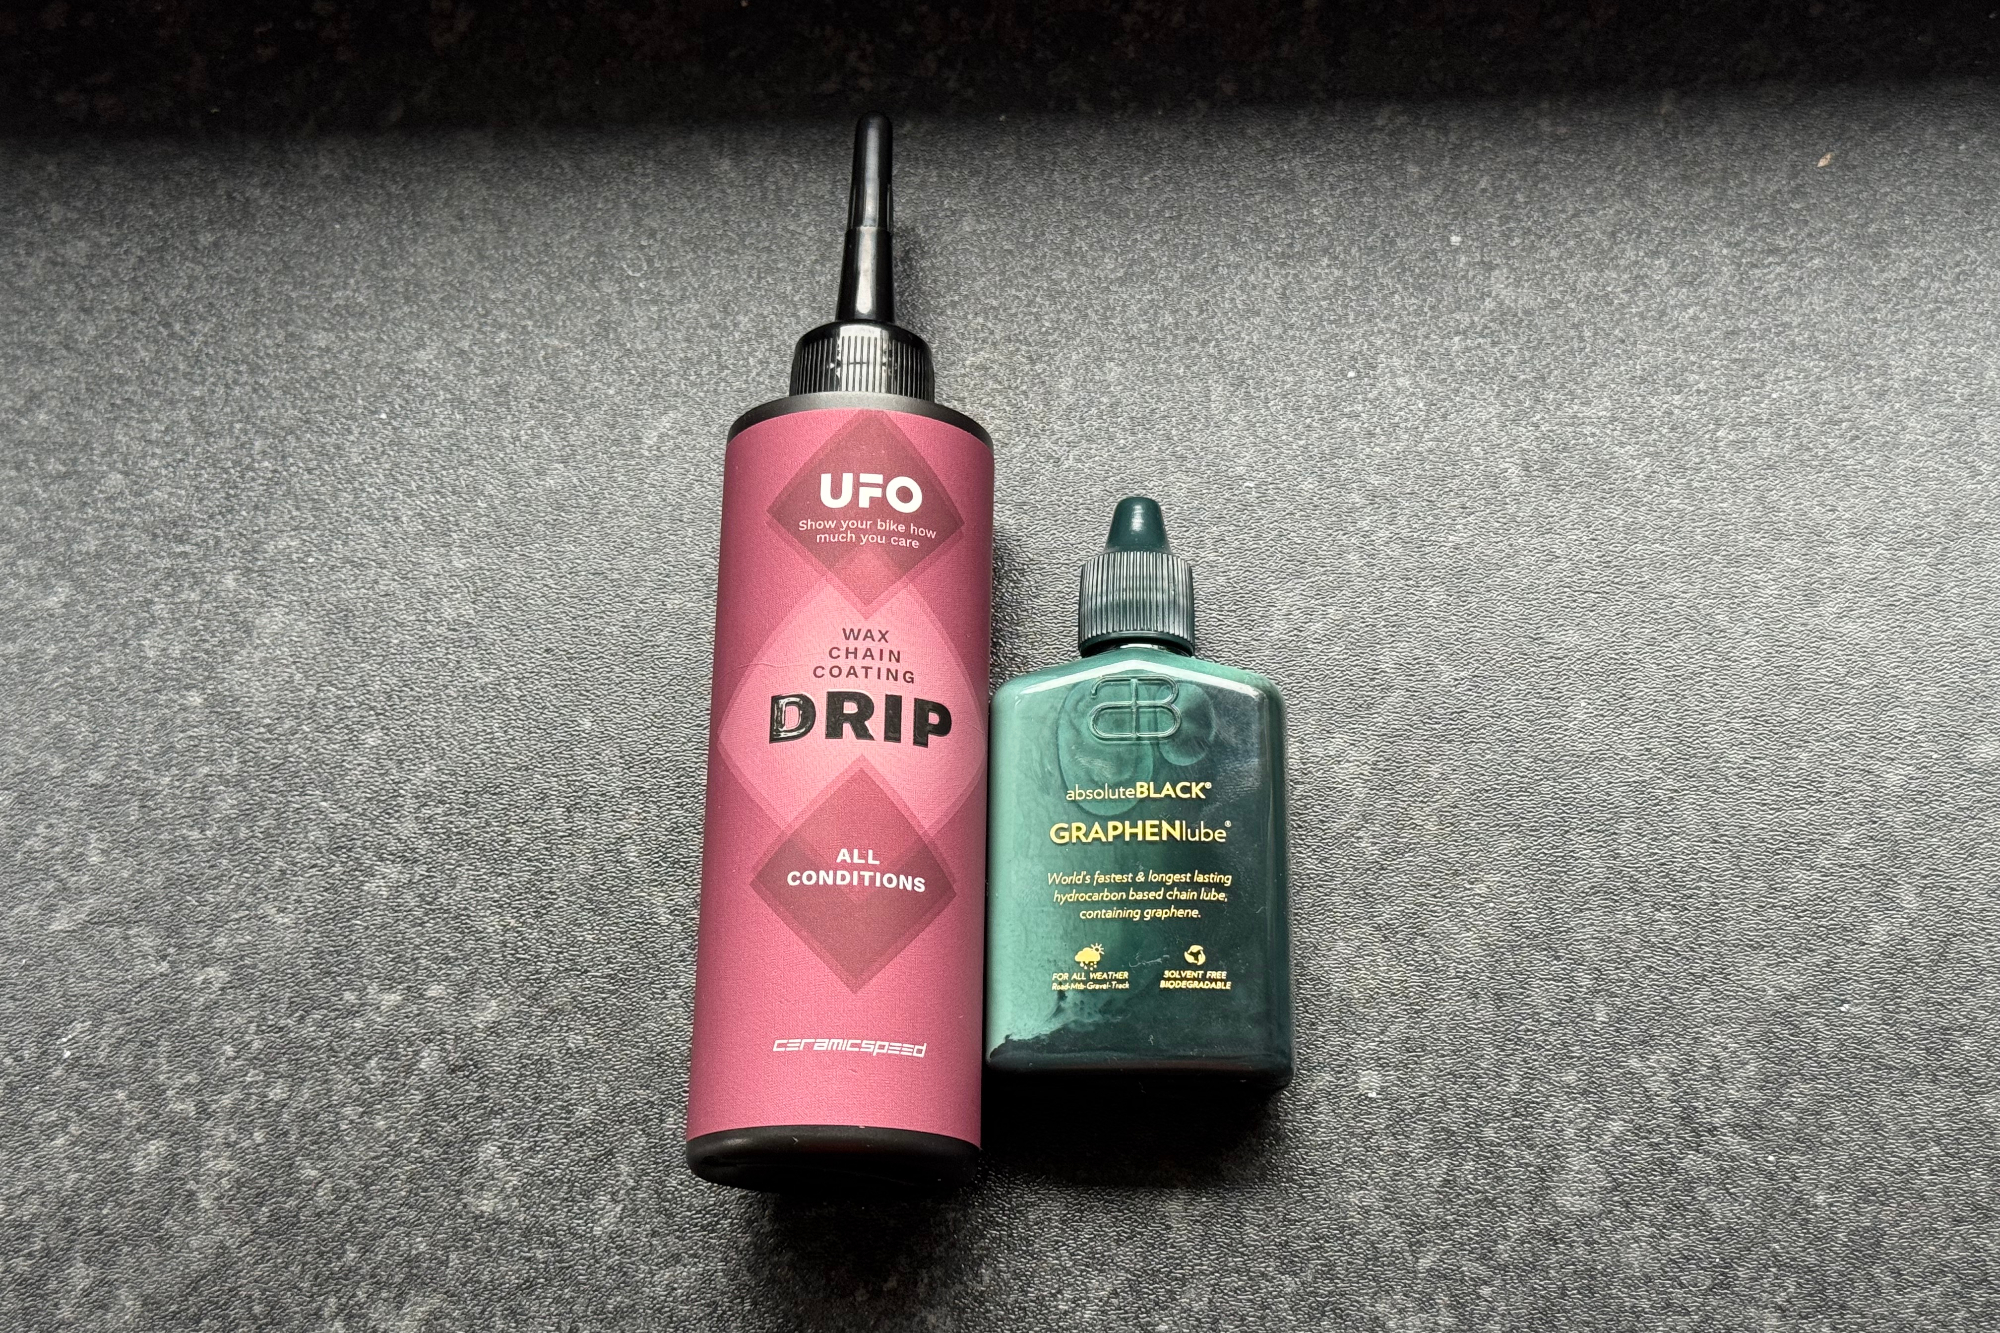
Bottled chain wax from CeramicSpeed and AbsoluteBlack.
(Image credit: Future)
Once the chain is clean, you can drip on a droplet per chain link. You can also use these drip lubes as a top-up on already waxed chains, increasing the longevity of the wax treatment and extended the time between reapplication. It is recommended to stick to the same brand though, as different lubricants have different make-ups, so mixing them can interfere with the chemistry, and might actually make your drivetrain slower.
Wax pellets
This is where the process starts to become a bit more complicated, as more equipment is required to wax the chains from solid wax products. The pellets have to be melted, in a strictly controlled way, so as not to overheat the wax and cause a safety issue. The advantage here, is that your chain is fully submerged in the hot wax, allowing it to penetrate deep inside the chain, where it can do the best job.
To ensure it gets into the chain in the first place, and adheres properly, the first stage is to clean the chain and drivetrain parts. First clean with a strong degreaser, then an ultrasonic bath will give you the best results.
Then, you need a means to melt the wax until it becomes liquid. You’ll then soak your chain in the hot wax.
Before specialist temperature controlled products designed for this purpose hit the market, a domestic slow cooker, was the best tool for this job.
You put the wax pellets into the pot, set the temperature and heat the wax up slowly to melt it down.
Once up to temperature, you then immerse your chain so that the wax can fully penetrate all the moving parts.
It has, until recently, been a bit of a faff. Fortunately, the next method does promise to make it far easier and accurate.
– You’ll find various information online about the best temperatures to shoot for, even advice that suggests you should pre-heat your chain for better penetration. If you do use the crock-pot / slow cooker method, it’s worth doing a little more research to get comfortable with the process. Tips like using an old spoke to douse your chain, and recover it from the wax once soaked are all very useful, and will help you develop a method that works best for you, your tools and the products you’re using.
NEVER use a stove top to heat wax directly in a pan
Direct heat can over heat the wax quickly, and cause ignition. Some websites may suggest double boilers are ok, but for this purpose they are to be avoided – they’re less stable, chains are inherently hard to handle in this context, and hot wax is not something you want on your clothes, skin, eyes, pets or kids.
Wax heated on a stove top, with no way of managing the rate of heating or eventual temperature, can quickly cause a fire that might set fire to you and your house or result in severe burns.
Slow cookers regulate the heat in a more controlled way, via a thermostat, and are more stable when used on a flat surface, where these processes can be undertaken away from domestic distractions.
Using a waxing system
Waxing systems are relatively new to the market, but if you want to start adding chain waxing into your bike routine, they give you more control, and make a lot of sense.
Silca has its entire waxing system available to purchase, it comes with everything you need, alongside good, clear instructions, and promises to make chain waxing far easier, and in the long run as we found out, cheaper.
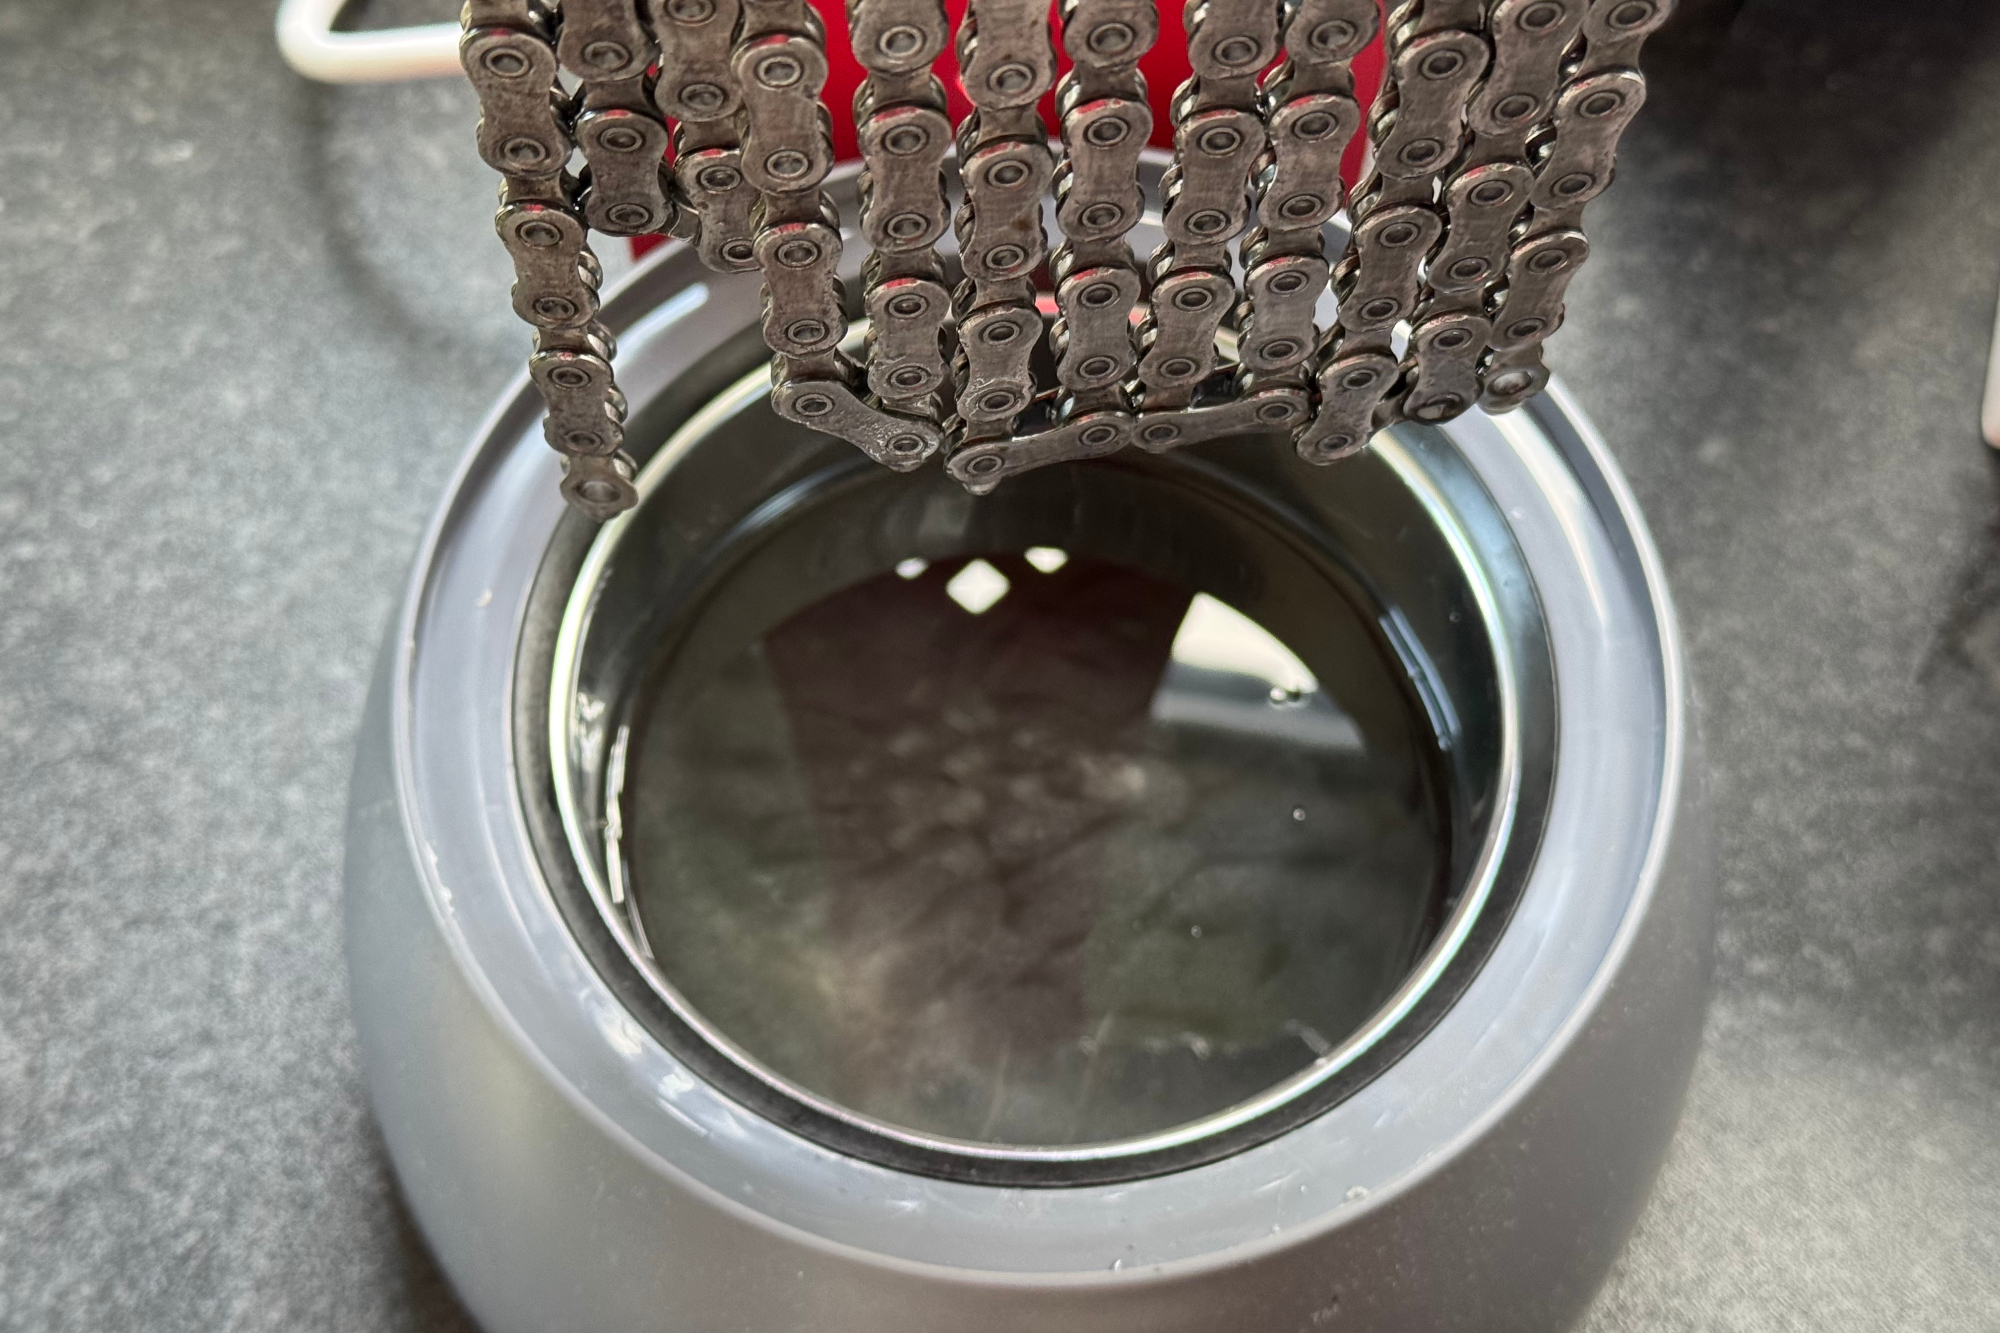
The dedicated wax pot is temperature controlled so you can be sure you’re at the right temperature before immersing the chain.
Silca recommends specific temperatures for optimal wax penetration of the chain and lifespan per wax application. Often a slow cooker whilst much safer than a stove top bodge, and perfectly suitable for the job, runs too hot, over 100˚C, this can mean the wax is less viscous when you remove the chain, and much of the wax drips off before it can set, whereas the optimal Silca claims is closer to 75˚C.
In its system, Silca also offers two cleaning methods.
The first is a chain stripper solution that you put in a plastic box with the chain and leave to clean. The second is the brand’s Strip Chip, a wax square that is put into the wax solution and melt down which removes traces of the previous lubricant from the chain and removes the need for the dedicated cleaning step.
The chain is then hung to dry before being fitted to the bike in the usual way. Remove the chain when it needs a top-up and repeat the process, or use the Silca drive wax to extend it’s life between treatments. You can skip the cleaning step of course, and go straight into the wax with your next application.
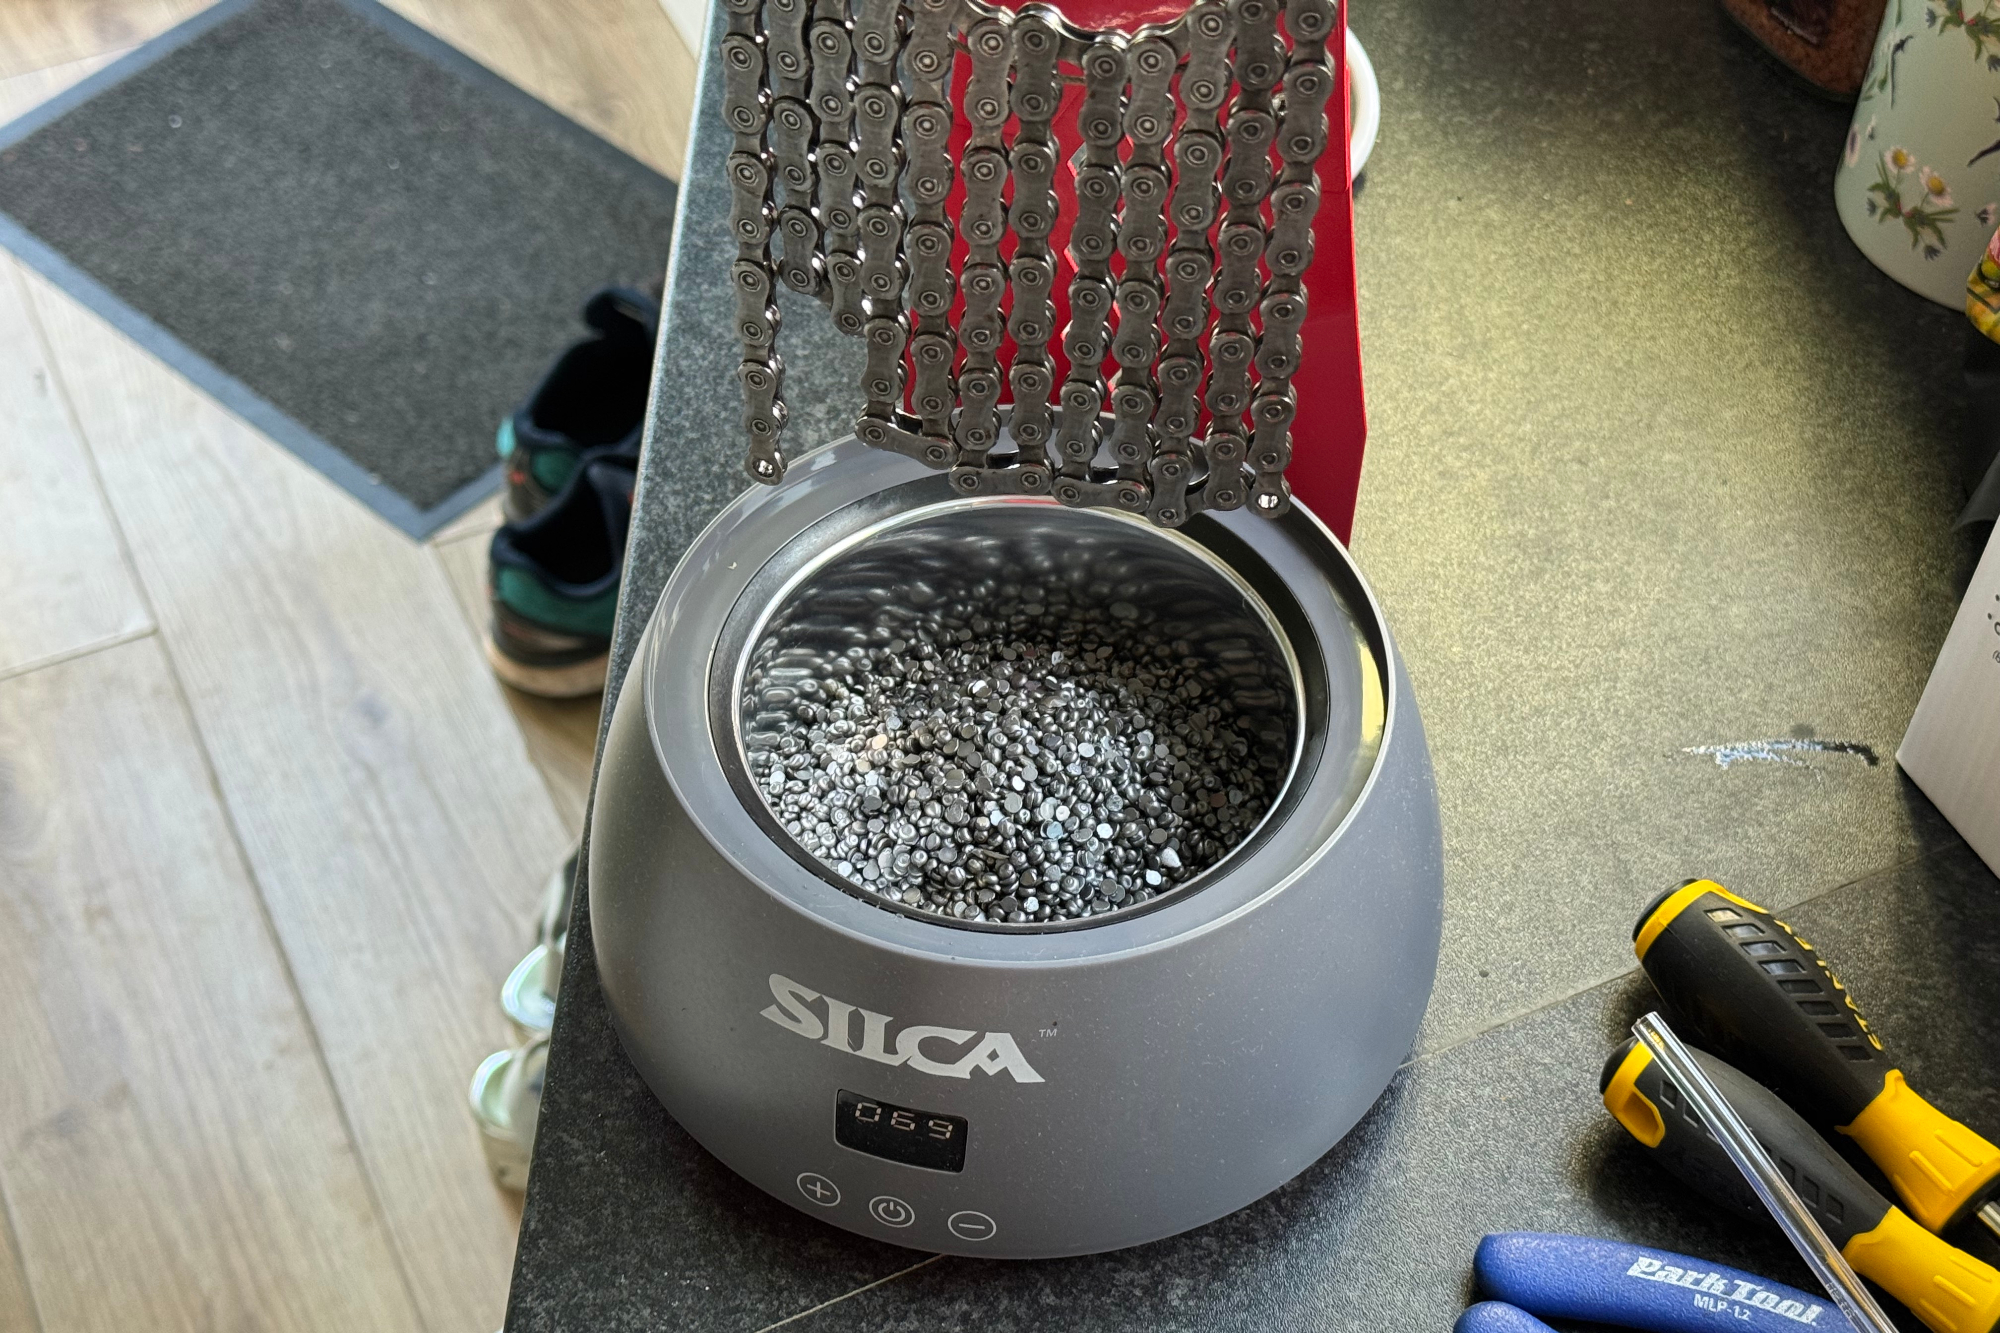
Silca’s dedicated system ensures you can achieve the right temperature for the best wax penetration. Take sensible precautions around hot wax. In this picture, taken before it was heated for the purposes of this feature, there’s really no need to have it quite so close to the edge of the worktop.
(Image credit: Future)
Why should you consider chain waxing?
So you’ve bought the kit to minimise the hassle, and you’re in for the long haul to give it ago, but on paper, it does still look more expensive?
The outlay and the hassle does seem pretty extreme, but when it comes to the economic arguments, there are several decent benefits to using chain waxing over standard wet lubricants.
Drivetrain efficiency
As we’ve mentioned, it’s widely established that drivetrain efficiency is improved by waxing. Side by side, a freshly waxed new chain is often faster than a freshly wet-lubricated chain, saving somewhere on average between 2-8 watts depending on power output. More power equals a greater saving.
But that is fresh versus fresh. Where the gains start to really add up is when contamination from normal use is added.
When we ride, even in the dry summer, our chains are exposed to dust, rubbish and all sorts of small bits of road debris. A wet lube can’t help but attract this stuff. The paste that forms is responsible for increased friction and reduced drivetrain efficiency.
However, as the wax lubrication is dry, debris does not adhere to it, enabling the waxed chain to maintain its better performance while the relative watt savings become larger still. This leads us nicely to the next point.
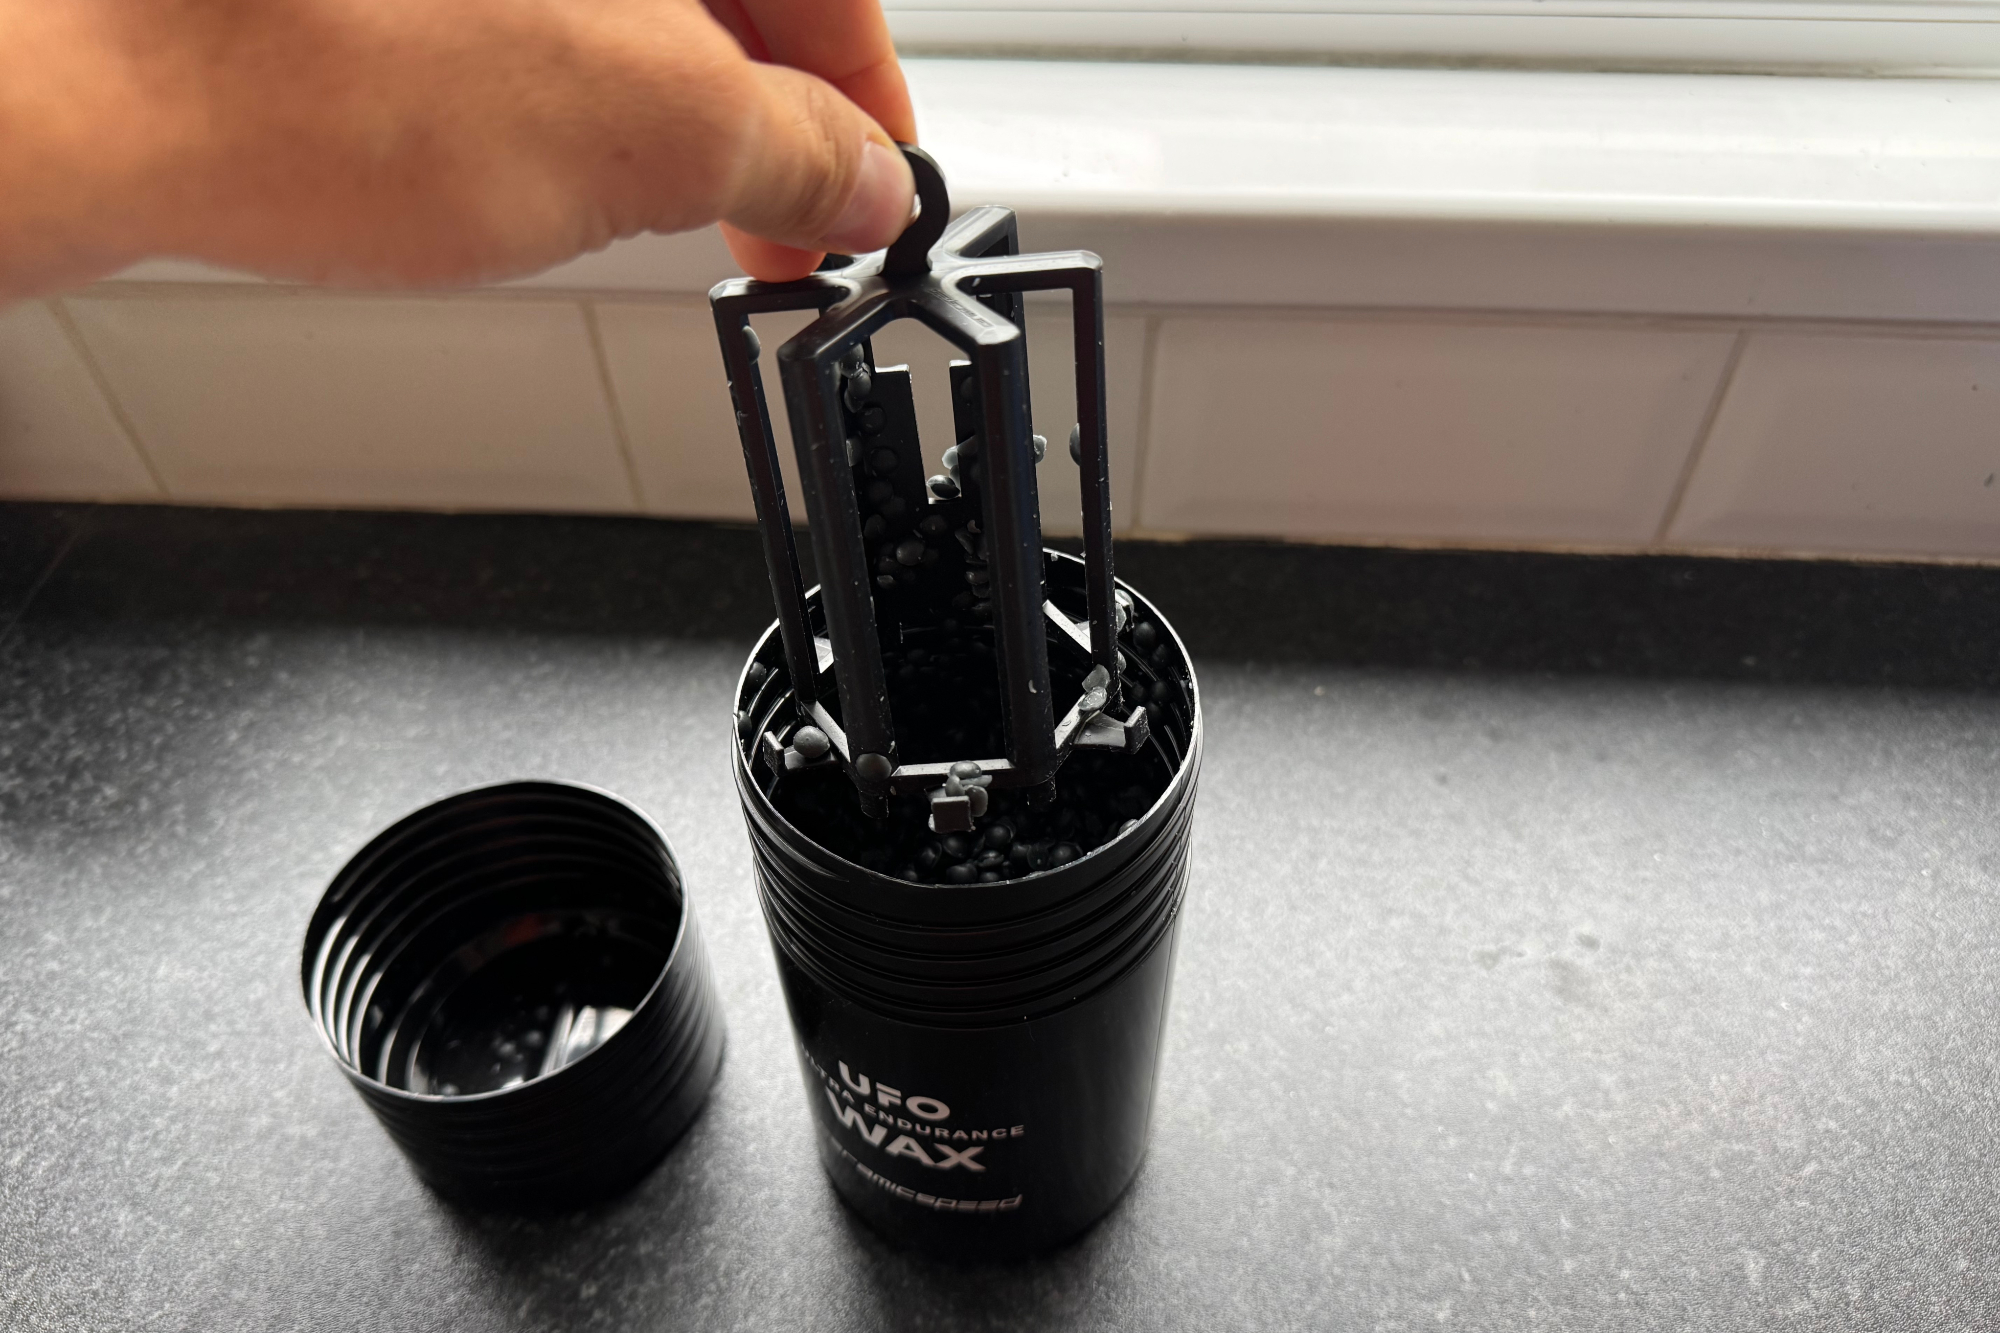
CeramicSpeed’s heat safe cylinder allows those without a dedicated wax melter to melt wax pellets.
(Image credit: Future)
Less cleaning required – the end of ‘Cat 3 tats’
Waxed chains still need cleaning, but they have a huge benefit over wet lubricants. We’ve likely all experienced the ‘Cat 3 Tat’, the imprint of a chainring in black oil on the lower leg. This is from wet lube picking up lots of filth and debris, making for a sticky and filthy solution on the chain and other components. With wax, this problem does not exist.
You still need to clean the old wax off when applying a new treatment, but it is a far less messy process. You also don’t have the risk of staining your nice pair of white socks with blackened oil, and in the event of a chain dropping you will not be left with blackened hands if using a waxed chain.
Improved component longevity
With wet lubes, which perform perfectly well when clean, you can build up a layer of dirt fast, and this needs regular cleaning, removal, and reapplication of a clean wet lube, to keep it doing it’s job.
The less debris on your chain, the less friction on the moving parts. Simply put, your chain and sprockets will last longer if they’re clean and lubricated.
And there’s research to back up this common sense point. What you might not know is the scale of the impact road debris and grime stuck to your chain can have.
Independent testing from Australian drivetrain efficiency guru, Zero Friction Cycling, has found that waxing chains can improve the longevity of components from 50% to a massive 600% depending on the waxing method, and which wet lube it is being compared to. Given the cost of a Dura Ace chain is $85 / £60, not having to replace this as often can save a good deal of money over time.
Wet weather performance
A common misconception with wax lubrications is that the performance in the wet is not as good as wet drip lubes.
This is in part because the wax lubrication does have a tendency to not last as long in wet weather and flake off at a faster rate. However actual drivetrain performance is still greater when compared to wet lubes, and in wet weather more contamination can make its way onto the wet lubed chain.
Wax doesn’t attract grime, regardless of the weather.
It is true however, that both wet lubes and wax will require reapplication after wet weather. Here, the wax requires a little more work, but it will in all common circumstances, perform better and last longer than a wet lube treated chain.
Are there any downsides to chain waxing?
The initial outlay is higher than a standard drip lube approach. Purchasing a pre-waxed chain includes an unavoidable additional cost, which usually sees the chain price double against the price of an oiled chain.
The required wax drip lube you might need to maintain the chain is also often more expensive than a standard wet drip lube.
And for those doing at home waxing, the wax and system costs have to be taken into account too. As an example, the Silca system costs $/£99.99 without wax, which needs to be purchased at $/£40 form Silca, plus any cleaning additives. An ultrasonic bath, which isn’t essential, can add more cost.
The whole chain waxing process does also requires a lot more time investment, in both the initial treatment, and maintenance than perhaps applying a drip lube and going for a ride.
(Image credit: Future)
However, it’s not all hard work. Once the waxing setup is sorted, and the chain has been cleaned and waxed, the process can be repeated without all the cleaning steps.
The chain is simply re-immersed into the same wax solution, or you just apply the drip lube to re-coat the chain in the same way you might with a standard lube. It needs to be done more frequently after wet weather riding of course, but realistically chains need instant attention after any wet weather ride even using a wet lube.
When you look at the overall lifespan and cost of waxing versus drip lubrications, again Zero Friction Cycling has a very useful tool with its cost-to-run calculator, and the results are pretty compelling. We ran the numbers.
The example here looks at a standard drip lubricant on Ultegra level components, used over a distance of some 5000km. In those circumstances, your total component costs on a standard set up would cost £305 or around $405.
This calculation assumes you’ve got through 2.6 chains in that time, used 1.3 cassettes, used 0.43 chainrings worth of wear, and splattered 0.75 units of lubrication all over your bike.
Change this to the Silca Hot Wax, and the cost drops to £42.33 or $56 over the same time period.
The wear has decreased significantly in this example, and the costs have dropped on components, spectacularly. With the Silca system, Zero Friction claims you’ll have only got through 0.2 chains, 0.1 cassettes, 0.03 chainrings, and 0.5 units of the wax over the same 5000km period.
Even adding the $/£99.99 for the chain waxing system and the additives, this is still around £100 cheaper over 5000km than using a traditional wet lube system.
We say
Although waxing a chain is ultimately a little more complex, with more steps, and a new process to get used to, plus an initially larger financial outlay for the required setup, it does certainly seem to have some pretty compelling benefits.
It is also incredibly convincing on the efficiency argument. In a world where people might spend $/£5k+ for the latest aero frameset, which could save around 5 watts against the outgoing model, investing in a chain waxing system for the old model bike, can save a similar amount of watts. At plainly way less cost.
Add to this argument that your components will likely last longer, considerably so – as we’ve seen in the examples given, and over the course of a year, even purchasing a full waxing system will still be cheaper than using a wet drip lube.
There are also the practical benefits such as less mess, chains that won’t leave oily marks – so no more ‘cat 3 tattoos’ or damage to your car seats – and with pretty easy re-waxing of chains after the initial treatment, it starts to quickly feel like a no-brainer.
It does require some time and investment initially, that will be a barrier for some, and it’s suited therefore to a person who’s prepared to spend the time, but for those looking for good value performance and longevity gains, with the time to do it, chain waxing is well worth the investment.
