The humble bicycle might be mankind’s greatest invention, but anyone who owns two or more knows just what awkward things they are to store. Not just store, but move around to get to the one that’s needed. Which is almost always at the back of the pile.
Handlebars will get caught on other handlebars or saddles, while pedals will catch spokes, or worse, your shin. There’s never enough room to turn them round, or free space to stack them up somewhere else.
As editor of a cycling magazine, you might well think I face this problem with top-of-the-range, £12k-plus carbon race bikes with wireless electronic shifting and aero wheels. You couldn’t be more wrong. 75% of the bikes in my garage are kids’ bikes, and although they’re much smaller, and much cheaper, they’re just as awkward to store and move around in a confined space.
If you have some free wall space, vertical storage is the most efficient way to store a bike, which is why so many bike storage solutions are essentially hooks fixed to the wall to hang a bike by its front wheel. This can however take up a lot of space. Even hanging bikes alternatively handlebar up, handlebar down will require a lot of wall space to give you room to move one off it’s hook without catching the bike next to it.
Plus, a fixed position doesn’t allow for a change of bikes, all of which may have different width handlebars.
The best solution therefore is vertical hooks that move sideways on a track to allow access to each bike without having to take others down. This system from Buller does exactly that, and without breaking the bank. We tested the 1.5m length track with five hooks (you can buy extra hooks separately) which retails for £139.04. Other parts are extra. Ceiling brackets (we used three) were £14.38 each and the stoppers £10.23 (one at each end, taking 8cm off the length at each end), giving a total price for this setup of £210.42.
Ceiling brackets fix the rack to this gravel board
(Image credit: Future)
Putting the rack together
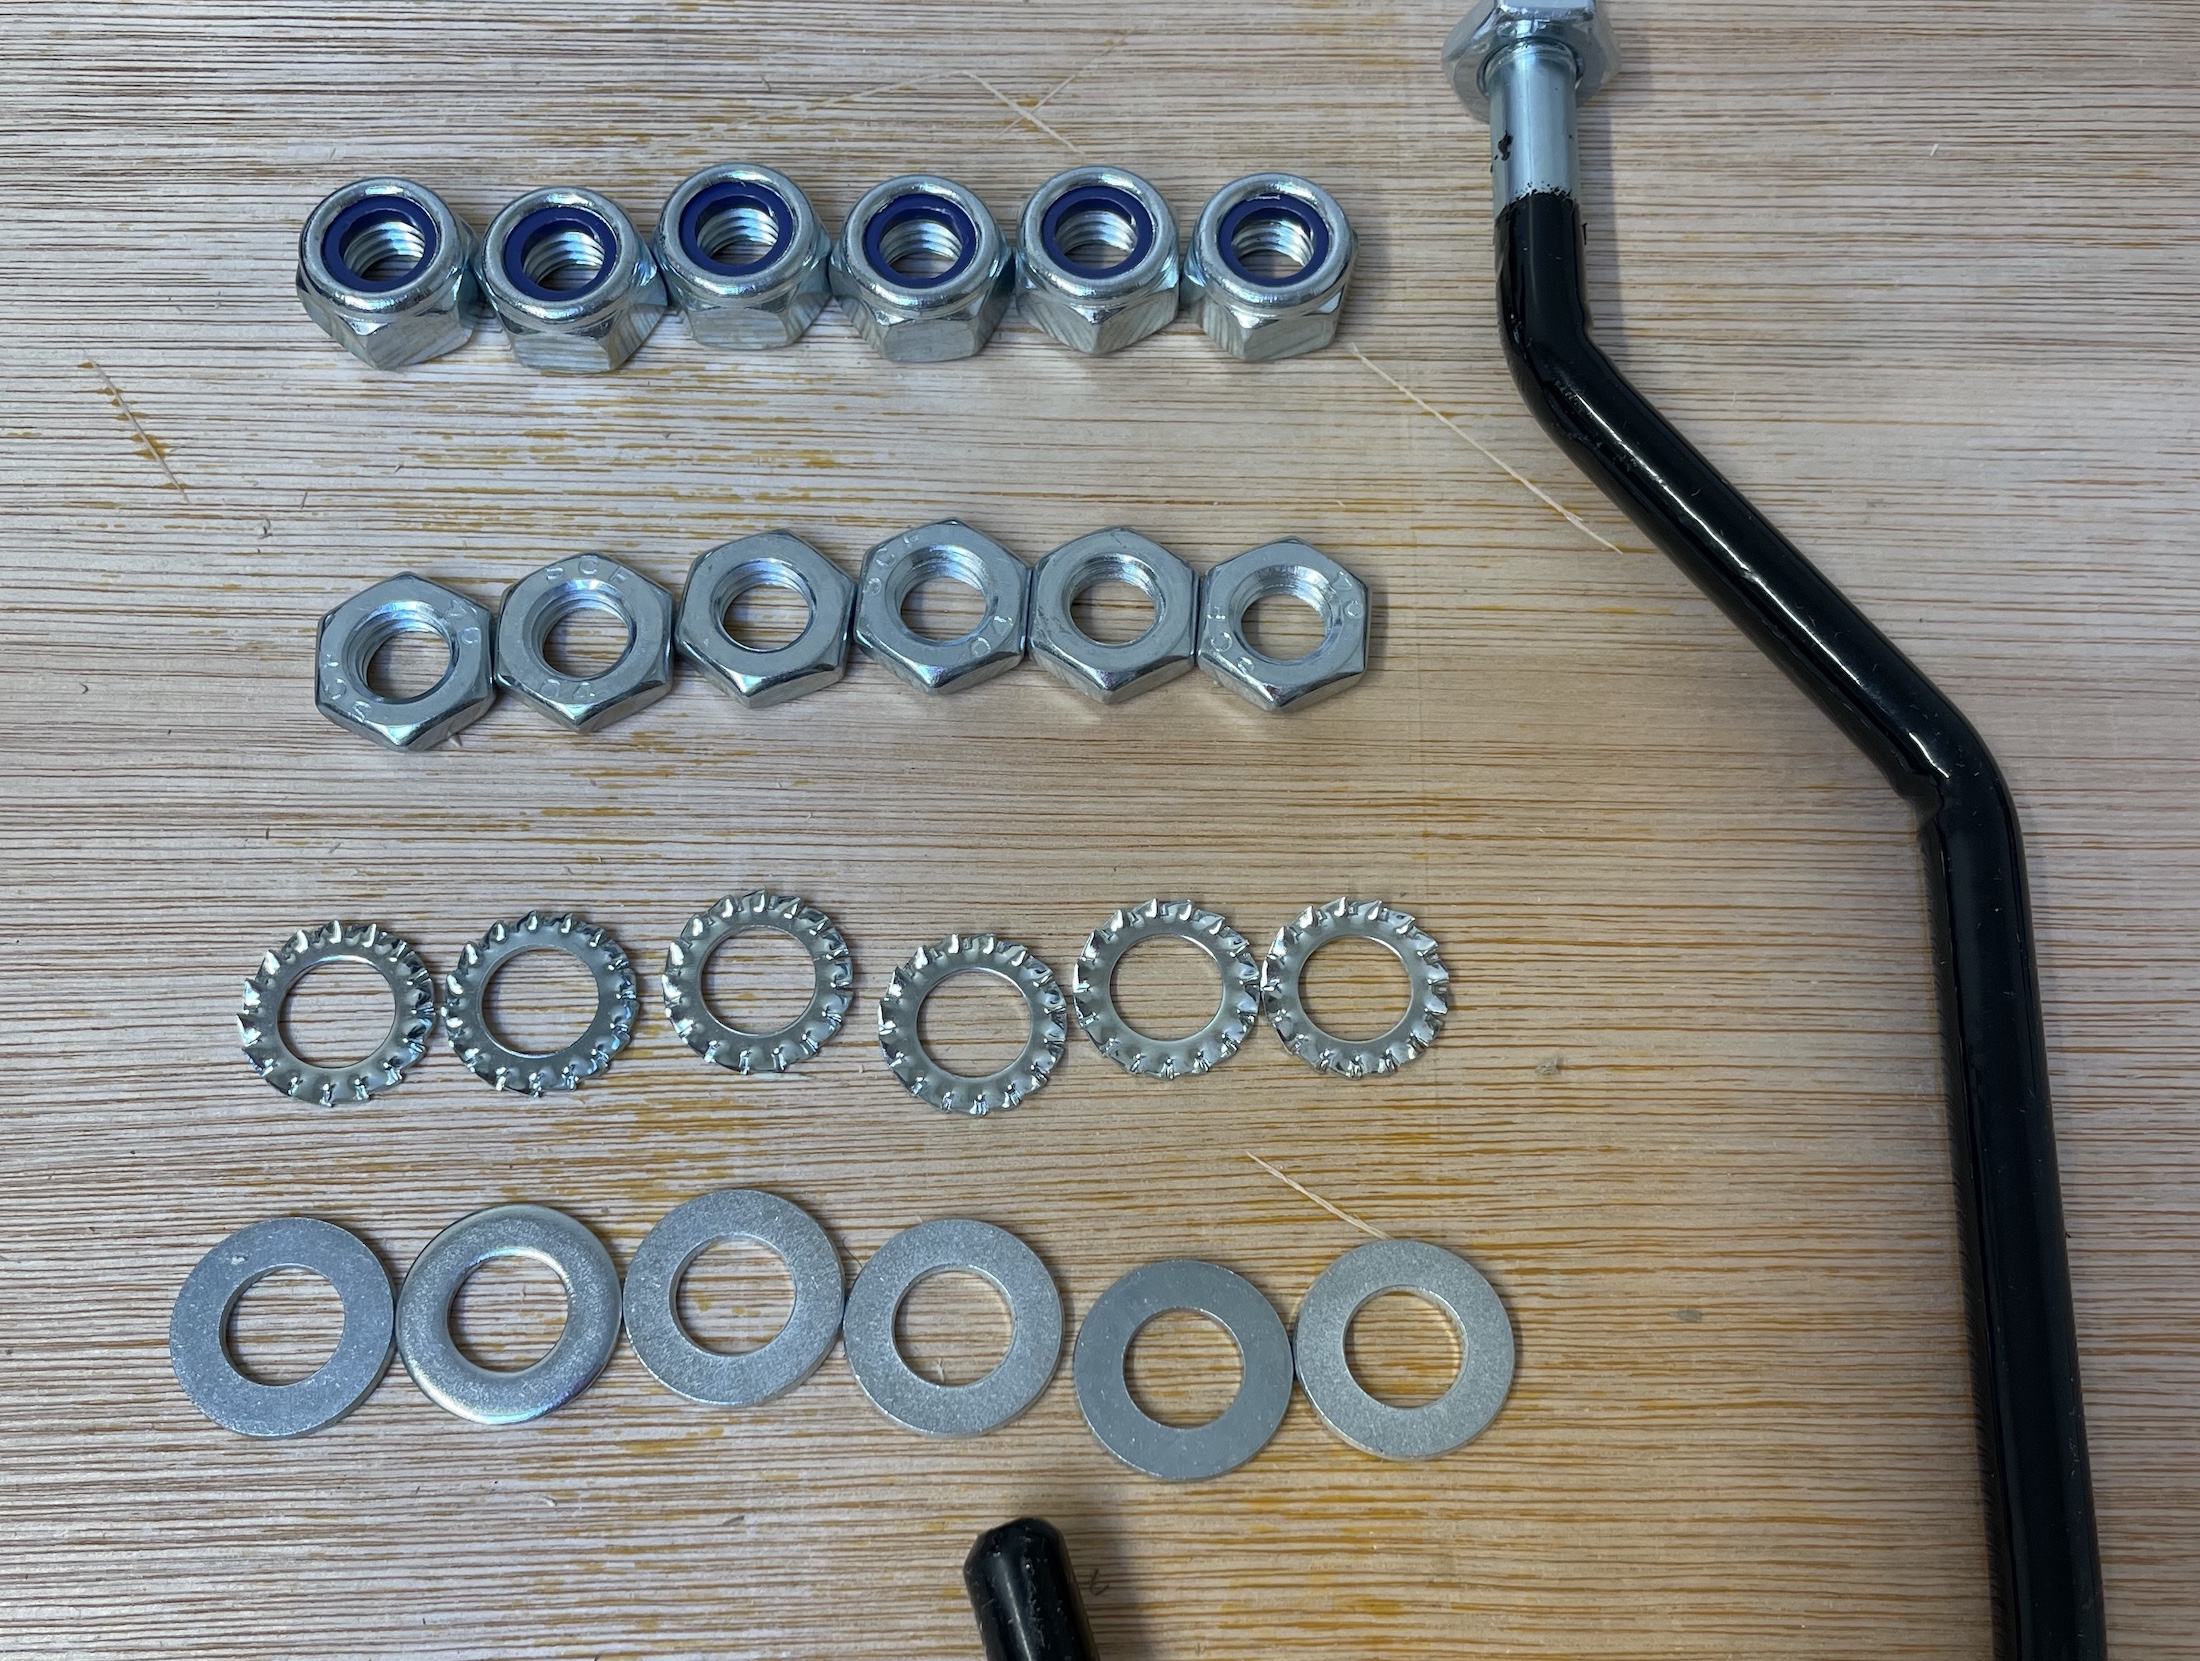
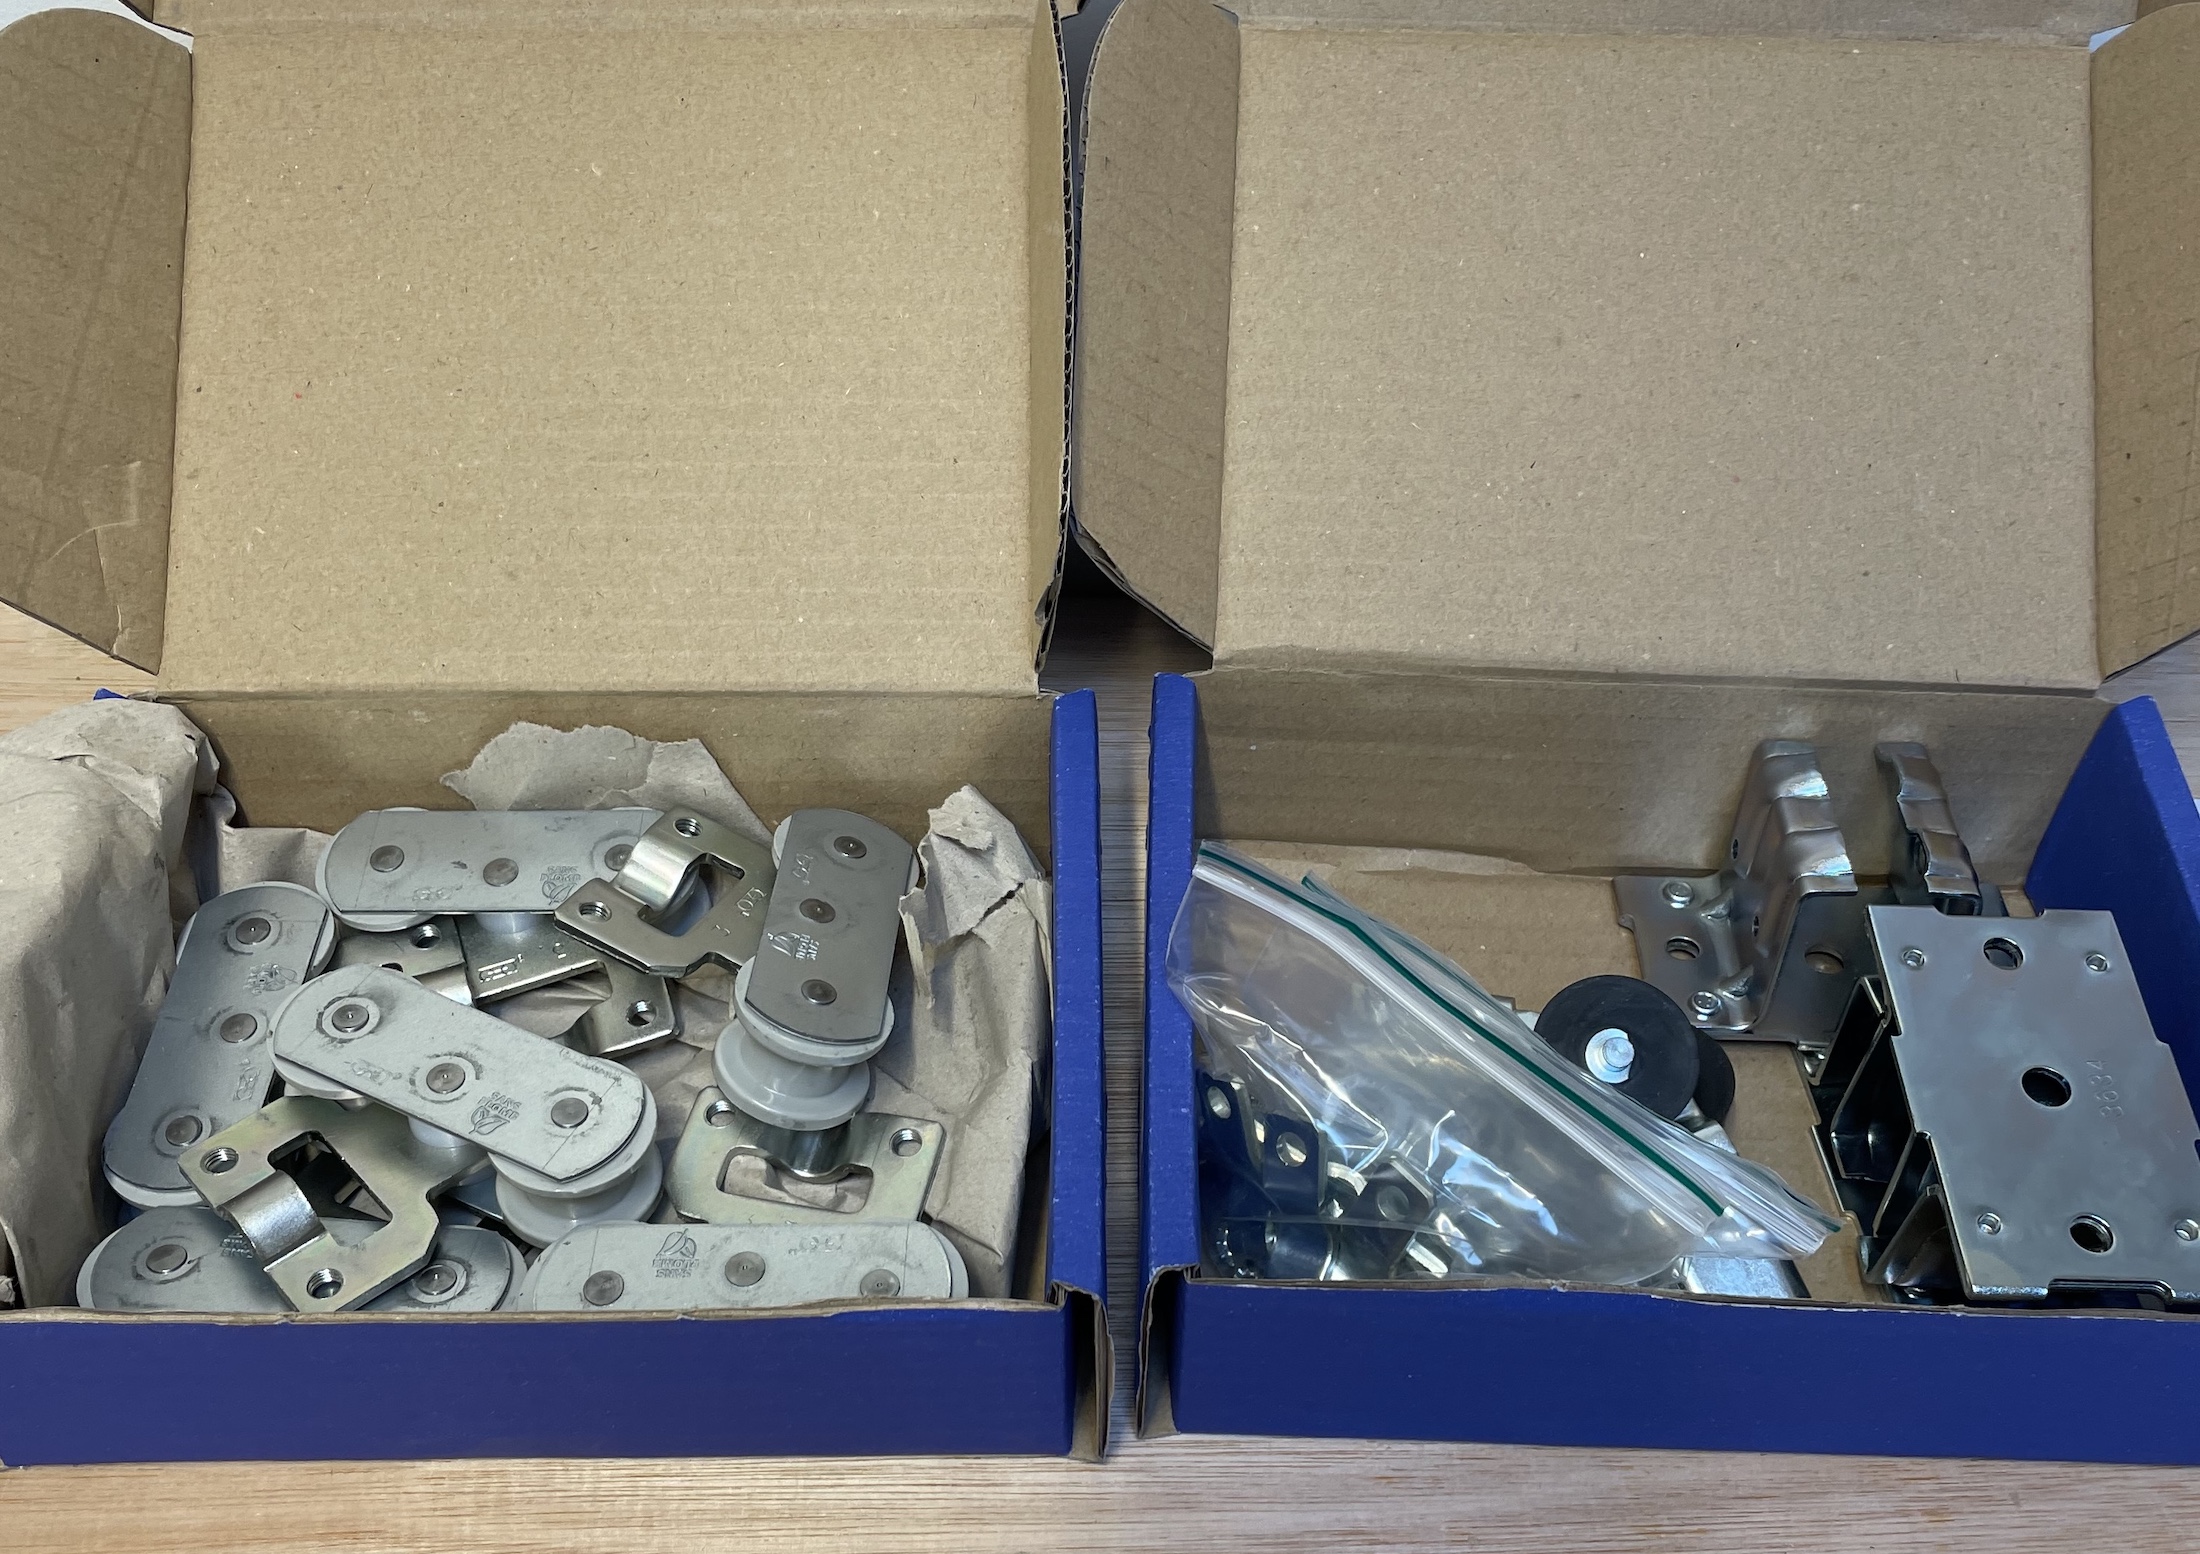
Buller’s system arrived in multiple parts, including star washers, bolts, brackets, and trolleys. Assembling the vinyl coated hooks into the runners is simple enough, although you’ll need two 17mm spanners to ensure they’re done up tight enough.
You then slot the runners into the track and fit the stoppers into each end. It took me a few minutes to work out what these were and how to fit them (it wasn’t described in the instructions) but it’s one of those jobs that you realise how simple it is only once you’ve done it.
Then comes the DIY part. The track has to be fixed to something. The 1.5m track (a 3m one is also available) needs three ceiling track joining brackets that I screwed to a cut-down length of gravel board. I then fixed the gravel board to the rafters in the garage roof. Screwing through the board with double threaded wood screws and a few L-shaped brackets for extra strength.

The Buller rack comes in parts, ready for you to assemble
(Image credit: Future)
Building the rack
All the components on this system feel solid. They are in fact industrial grade and come with a 25-year warranty. There are no nicely finished, polished parts, the bolts are exposed and edges of the track haven’t been filed down or polished. There are other systems on the market like Stashed, that are far more polished and wouldn’t look out of place inside a house with a bespoke bike room. This industrial feel of the Buller system is better suited to a garage, shed or warehouse and gives the reassuring impression of being bulletproof.
The trolleys run beautifully with no oil needed to smooth their path or lubricate, and the hooks turn freely. You can also set them up so they don’t rotate. There was nothing on this system that felt loose, cheap or weak.
Once up, five bikes hung alternately bars up / bars down can easily be condensed down to take up less than half the length of the rack, so around 75cm. Moving them to either side is easy and the wide hooks (with 12cm opening) make it simple to get the wheel rim in the vinyl hook.
The deepest rim we had to test was 40mm, and there was plenty of space for something deeper. If you need to you can rotate the bike through 180 degrees to place bikes even closer together but I didn’t need to do that

The parts aren’t polished, but they are well made, and feel robust
(Image credit: Future)
Other considerations
When fixing to the ceiling, ensure you leave enough space for the hanging bikes. Fix it too close to a wall and the rear wheel will catch it, and could then spin the bike around. I fixed it 31cm out from the wall which fits a standard road bike, although a couple more centimetres would be ideal.
Make sure you measure it out before fixing. And although most people won’t need to check, ensure whatever you’re fixing it too is level. If the roof, rafters or whatever aren’t horizontal, the bikes will roll to the side and could damage each other. If your ceiling is uneven use some shims.
When Buller sent us this rack they asked for some feedback as it was their first cycling product. The feedback is, they nailed it.

